How to Use Smilebox to Simplify Your Life

How to Make a Smilebox Greeting Card
Digital Greeting Cards, Smilebox and Holidays
If you find yourself postponing the chore of mailing out all those holiday cards, or realizing that you should have mailed your party invitations last week? Fear not, digital greeting cards, or e-cards, are more user-friendly than ever. Not only are e-cards far less labor intensive, because there are no envelopes stuff and address, they are also instant. You can program a time and date to send your card(s) or send them now; your friends will receive your greeting or invitation immediately.
Another important bonus: you are using zero paper, killing zero trees and creating zero waste. Hooray for modern communications! Also, just in case you might think an e-card is less attractive in some way, you can use your own photos, videos, or make slide shows which are way more fun than those old fashioned, less personal cards we all used to go out and purchase. Which brings me to one more e-card plus, most of them are very affordable, if not free.
My current, most favorite e-card publisher is Smilebox.
Smile Box
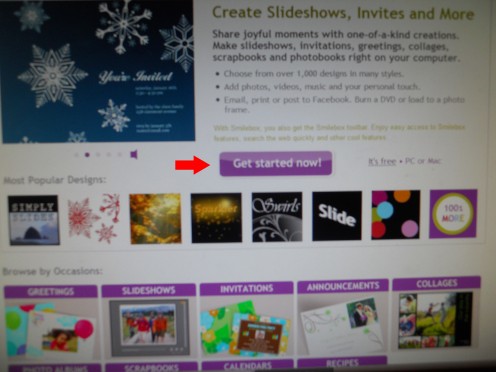
Smilebox is an easy to use tool for creating really incredible cards (birthdays, Christmas, other holidays, etc.,) invitations, slide shows, announcements and more using your own photos. Just visit smilebox.com and click the "get started button."
Smilebox
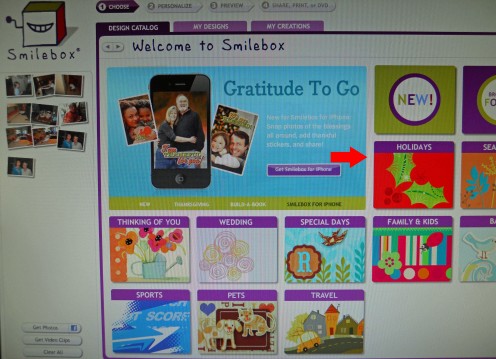
After creating a free account, go to the design catalog and follow the steps. Step one is to choose what it is you wish to create: greeting card, invitation, thank you, etc. In this example, I have selected "Holidays."
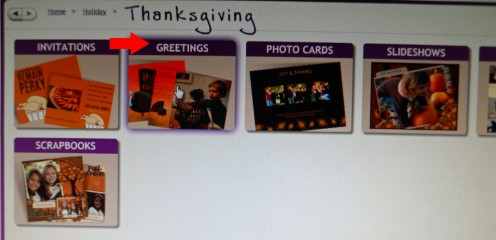
Next, choose your holiday from the menu. I have chosen "Thanksgiving."
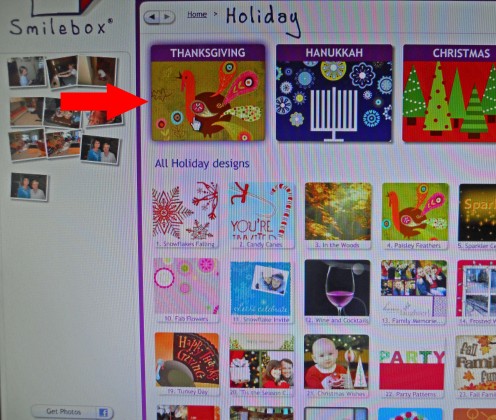
Now, you can browse through the designs or narrow the search more by choosing which type of Thanksgiving card you want: in the example, I chose "greetings."
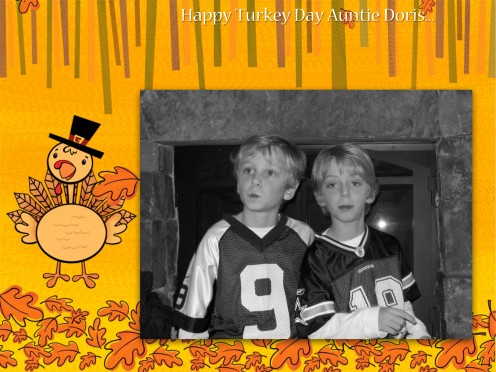
Now, you can click on the various designs to preview them. Remember that you will be able to change the text, music and number of photos later. Here, I picked "Gobble Gobble," a relatively generic greeting for this example.
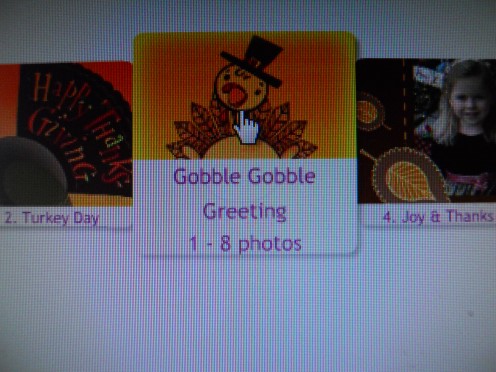
After you have selected the design you want, click on the "personalize" button below the image.

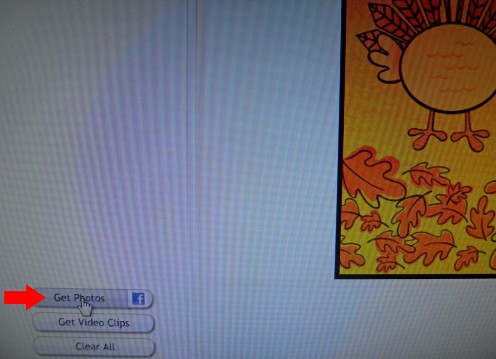
Now you will see a "Get Photos" button in the lower left corner of the screen. Click on this to go to your photos. You can download your Facebook photos with this tool as well.
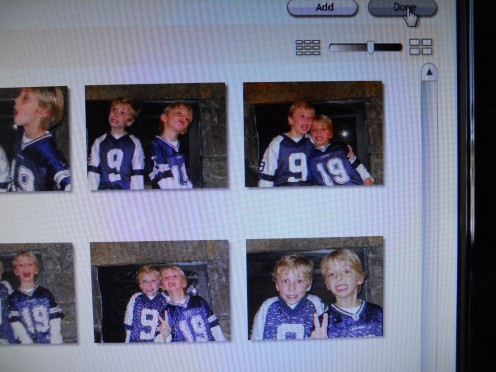
Simply click the "add" button under the photos you want. They will not go directly into your creation but into a "bucket" on the left of the screen. Go ahead and add any and all photos you think you might use.
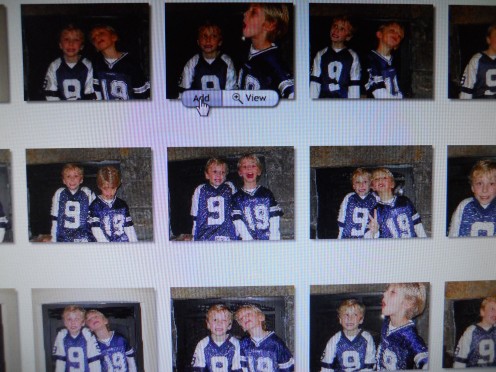
When you are finished, click "done" in the upper right corner of the screen. You can always go back to this step if you want to add new photos later.
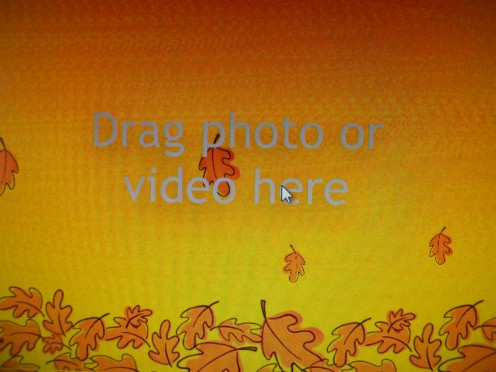
Now you can click and drag a single photo or video into the box (see below.)
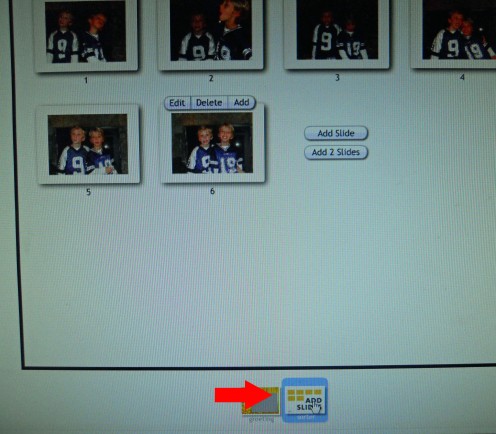
Or you can choose "add slides" so that you can add several photos to your creation. (Keep in mind, that the only recipients that really enjoy oodles and oodles of pictures, especially of the kids, are usually the grandparents. But I could be wrong here...;)
Click back to the "greeting" screen when you are finished adding slides. (Bottom of screen.)
In the upper right corner of your screen, is an option to personalize the music. You can choose from three options provided or you can add your own music. Click on "play" to listen to the choices.

You can also edit each photo by clicking the "fix" button above each photo.


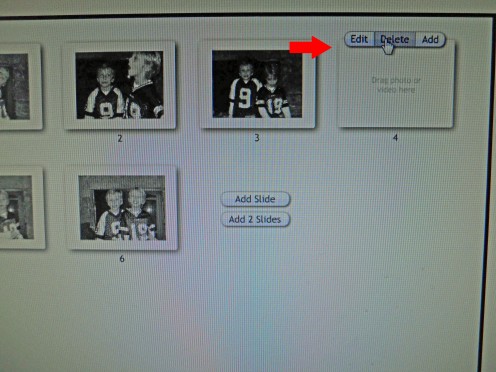
If you wish to remove a photo, simply return to the "add slides" screen and select "delete."
You will want to add your own message to the card. Select, "add text here" to attach your message or greeting to each (or just a few/one) of the photos.

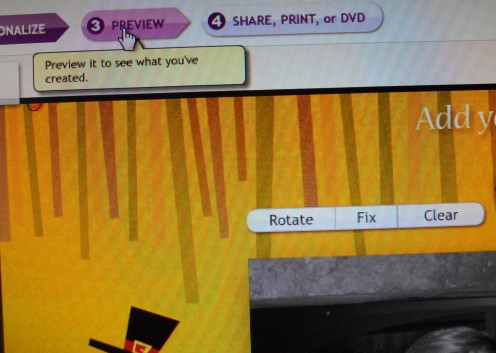
Click on step #3, "preview," to see what your creation will look like. Remember, you can easily return to step #2, "personalize," to make changes.
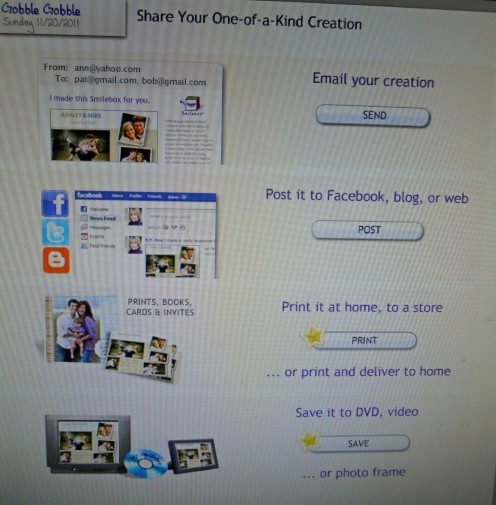
Click on step #4, to share your card via e-mail, Facebook, or the web. Once you have entered addresses into the address book, Smilebox will save them for the next time. Don't forget to save all of your eCards under the "My Creations" tab.
Finished! To view my example, click the link below.


